
The name of the post is self-explanatory and super mouthwatering, I really don’t need to say more. Haina? This particular cake recipe was experimented on the auspicious occasion of HI’s birthday which was in October last year 🙈. I have been trying very hard to share it on the blog ever since but no luck.
However, today is THE DAY! Brace yourselves for a very divine post peeps. By the way, the hat-trick of baking this particular cake has been scored already. Yaaaas! It has graced my dessert table for the two big pizza parties I have hosted in between… one word, PROFESSIONAL-TASTE! (I added a hyphen in between to make it one… lol, coz you know ‘one word’ kinda things look cool to read/write… Hahaha)
Enough of these PJs for now. Let’s get down to the actual business and that is talking/ baking/ eating this RED VELVET CAKE *Period*
I searched a zillion (extreme exaggeration guys :p) recipes/ comments/ suggestions over the internet to make myself comfortable with the idea of baking this delicious thing and during the long process which lasted for about a week (I guess) I bumped into this super hit recipe by Cupcake Jemma. I watched her video several times (rewinding – forwarding on loop) together with the other shortlisted ones before deciding in favour of it. And I am so glad I chose it. However, I did some tweaking with the recipe as per our liking.
Aaaannndddd The cake turned out amazing, everything was perfect about it. Even HI exclaimed, is it from a bakery as soon as he tasted it after ‘the happy birthday to you….’ thing was over. 😎
The recipe goes like…
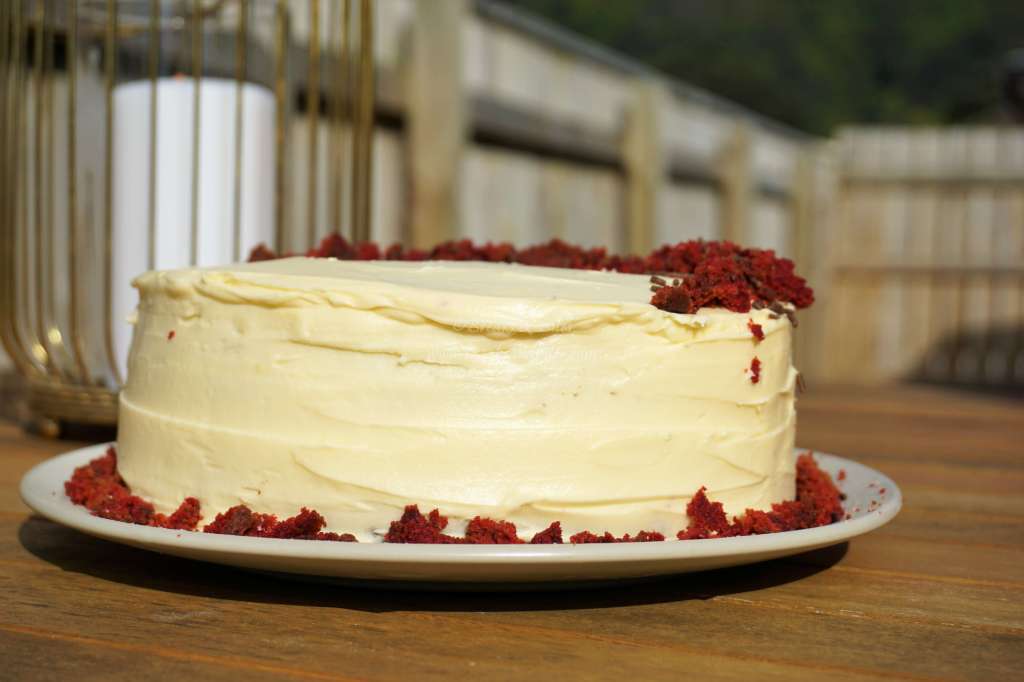
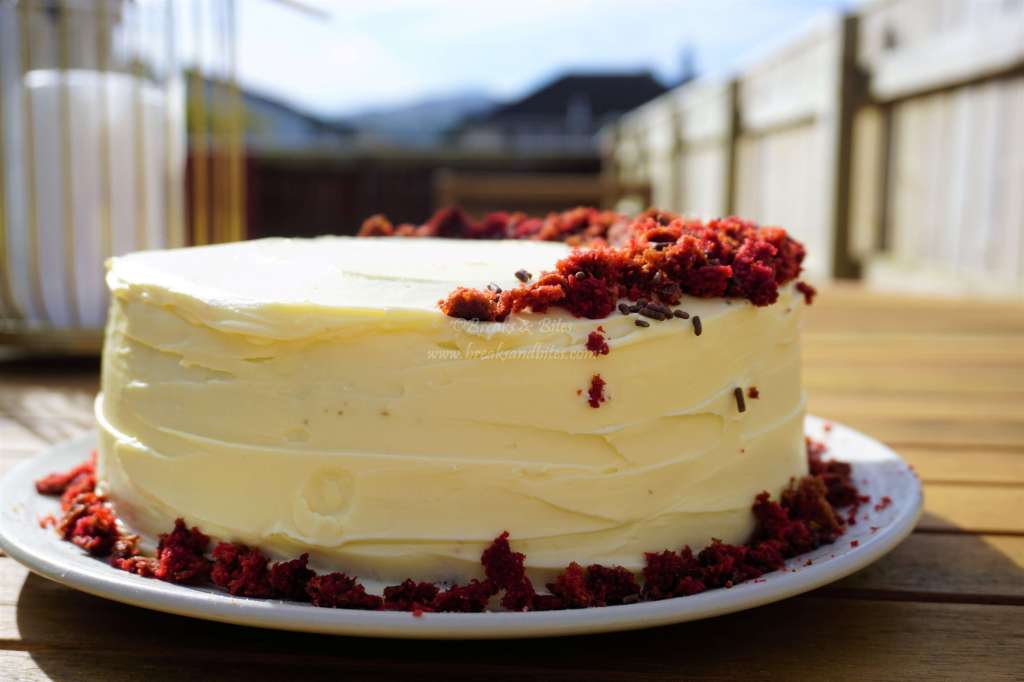
About Red Velvet Cake: A rich chocolate-flavoured sponge cake with a distinctive reddish colour, typically with layers of buttercream or cream cheese icing.
Rating: 🎂🎂🎂🎂🎂 (woah 5 on 5)
Inspired By: Cupcake Jemma
Cuisine: English
Course: Dessert
| Serves: | 6-8 | Ease Level: | 🎂🎂 |
| Prep Time: | 40 mins (cake) 7 mins (Icing) | Quickness: | 🎂 |
| Baking Time: | 35 – 45 mins | Sweet Level: | 🎂🎂🎂 |
Above ratings are out of 5, with 5 being the ‘most’.
Above times do not include cooling times.
GET:
🎂Food processor/ Electric Mixer
🎂Bowls
🎂9″ Springform Cake Tins – 2
🎂Baking/ Parchment paper
🎂Offset Spatula (Optional)
🎂Wire Rack
🎂Spoons
SET:
Cake Batter Ingredients:
🎂Plain flour 355 gms
🎂Cocoa powder 25 gms
🎂Salt 1/2 tsp
🎂Buttermilk 70 gms
🎂Vanilla essence 1.5 tsp
🎂Red food colour paste 3/4 tsp
🎂Butter (soft unsalted ) 375 gms
🎂Caster sugar 405 gms
🎂Eggs (large) 6
🎂Apple cider vinegar 2 tsp
🎂Bicarbonate of soda (baking soda) 1 tsp
Cream Cheese Icing Ingredients:
🎂Butter (soft unsalted) 150 gms
🎂Cream cheese 250 gms
🎂Icing Sugar (sifted) 750 gms
GO:
🎂 Preheat oven to 180°C for about 20-25 minutes.
🎂Run your dry ingredients (Plain flour, Cocoa powder and Salt) through a sieve into a bowl and combine them together by whisking for a couple of times.
🎂Move on to the wet ingredients – take buttermilk in a bowl, add in vanilla essence and red food colour paste. mix them together until they are all completely incorporated and no lumps of red food colour are visible. Set aside.
🎂In a mixer/ processor add butter and caster sugar and beat them together at high speed for about 5-8 minutes until they are really pale and fluffy.
🎂Now add eggs into the mix one by one and beat them for about 30 seconds after each one.
🎂Add the dry and wet ingredients alternately to the mixture,
- starting with 1/3rd of dry ingredients and fold them in at a slow speed
- when you see them coming together, add half of your red velvet wet mixture and fold them in as well (at slow speed)
- Add half of the remaining dry ingredients and fold them in at slow speed
- Add the other half of your red velvet wet mixture into the mixer and fold in at slow speed
- Finish with adding and folding in the remaining dry ingredients at low speed (of course)
🎂Lastly, add soda to the vinegar in a bowl, stir it and introduce the mixture into the batter quickly (while the soda and vinegar are still reacting/ bubbling). Mix them in the batter for about 30 seconds (at slow speed… again)
🎂The cake batter is ready, distribute it in your two tins as evenly as possible, level them for uniform shape
🎂Place the tins into the preheated oven for about 35-45 minutes or until a skewer comes out clean.
For Cream Cheese Icing:
🎂Start by beating butter and cream cheese in a mixer/ processor for a couple of minutes at high speed.
🎂Add the icing sugar in two stages, beating really well after each one.
🎂Once they are well combined, the traditional cream cheese icing is ready.
Have a look at my cake before knowing all the teeny tiny tips and tricks to bake your perfect cake 😉


MY TWO CENTS:
✅Preheat the oven while you are prepping the batter to save time.
✅For best results, use red food colouring paste rather than using the colour in liquid form. Using the latter will only make the batter runny (which is not desired)
✅The butter to be used should be soft enough to be easily squeezed by your finger but should not be too melty, greasy or shiny. (You can leave it overnight on the countertop during winter but in summer an hour or 2 should be fine).
✅Always put the dry and wet ingredients in stages with starting and ending at dry ingredients, otherwise, the cake would be too heavy.
✅The final consistency of cake batter should not be too runny. It should be thick enough to stick to your spoon/ spatula if you scoop it out and try to pour it back (I hope I am making sense… lol).
✅Line the bases of cake tins with baking paper. Also, grease and flour the edges for smooth removal of baked sponges. Always wait for a while before doing so, do not take the sponges out as soon as you take them out of the oven.
✅For icing, add the sugar gradually. Taste it before finalizing. You can always add more
✅Do not leave the prepared icing uncovered or else it will get crispy.
✅Make sure the cake sponges are completely cooled off (preferably on wire rack) before starting to decorate.
✅Level the cakes put the last one upside down for a crisp neat look.
✅While setting the cake, start with a small blob of icing then put the first sponge over it.
✅Pop the cake in the refrigerator for about an hour or half after crumb coating it before finalizing the decor so that it gives the perfect canvas to furnish. ( A thin layer of frosting called the “crumb coat” seals in stray crumbs before fondant, marzipan, or a second frosting layer is applied. Remember to chill the crumb–coated cake until the frosting is set )
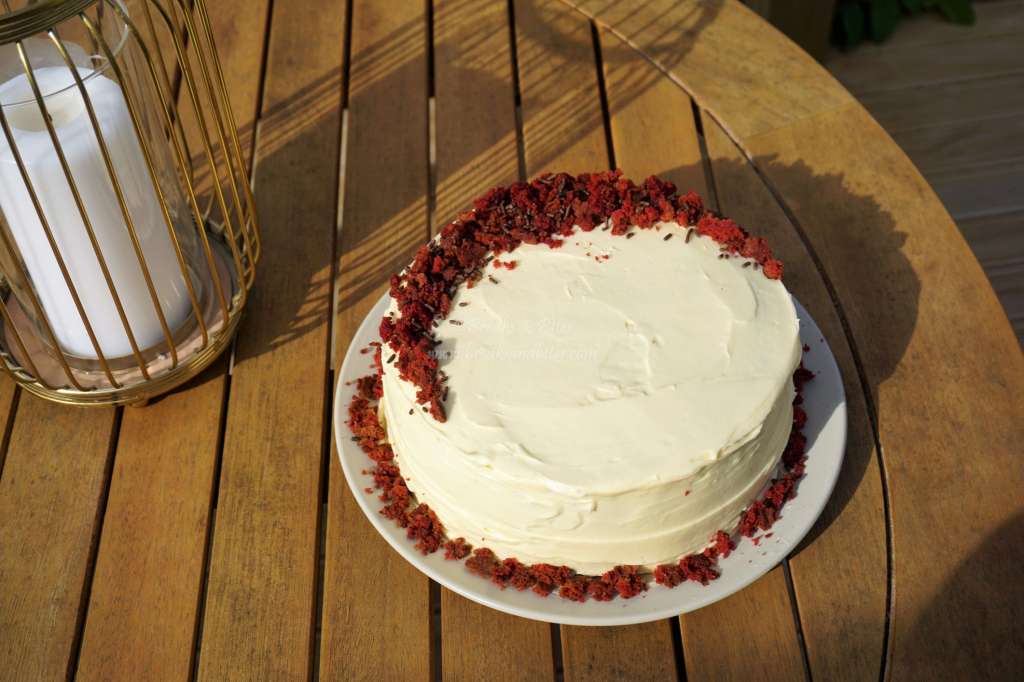
✅Save the crumbs from top of the cakes that you must have got after levelling for and use them to decorate your cake. Don’t waste anything!
✅I have an electric oven hence the temperature and cooking times. These times may vary depending upon the type of oven you have. (Refer to your oven’s user manual for time queries – that is what I did)
Hope you’ll enjoy trying it out. Gosh, this has turned into such a long post, I have blurted out every possible tip here… Hope it helps 🙂
The cake is now all yours to devour. ATTACKKK!! Haha
I’d love to get your feedback. Feel free to drop a comment below about your experience.

If looking to do 2 x8” tins what measurements would you need for all ingredients?!
LikeLike
You can go with the same measurements, just divide the whole batter into two pans. No significant change is needed. Keep an eye on the baking time, you might need to bake for a bit more because of the thickness. Hope it helps 🙂
LikeLike