
October is my Official-New-Cake recipe trial month. Analyzing the history of my cake recipe sharing trend, you guys must’ve gotten the idea by now. October is HI’s birth month and I try to treat him with a new delish cake every year. Last year I was pregnant hence no new cake recipe trial came into effect. But this year I was determined to try out something new, easy and of course, divine.
Once there was a time when I used to plan things weeks in advance specially when it involves baking a cake because a dry, unpalatable and regrettable cake on a special day is my worst nightmare. I usually watch a ton of videos on repeat, learn tips and tricks from the experts and then whatever I decide to do, I do it directly in the production (live) environment (no testing, no drills- well, most of the times haha).
But this year was different, I am not getting much time lately mainly because I have become a pro at procrastinating and also because I have 3 kids to manage now alhamdulillah (2 of my own and 1 of my MIL.. lol). Anyways, so the date was nearing with every passing day and I was not able to do the estimating and planning part much. Time kept on passing by with lightning speed and one fine day I realized that only 2 days are left for the showdown… lol. I realized it’s high time to start freaking out and in the chaos I wasted some more time while looking for different ideas about cake online. Then I remembered watching Marium Hosein’s stories a couple of days ago on Instagram (https://instagram.com/mariumhosein?igshid=Nzg3NjI1NGI=) in which she was making this very soft and yum cake that involves coffee with her kids. The very next moment I was trying to locate the cake recipe she shared on her grid. I re-watched all her stories and still was a bit unsure but the pivotal moment in which she was cutting the cake proved to be the deciding second for me. I was like I am going to make this. *period*
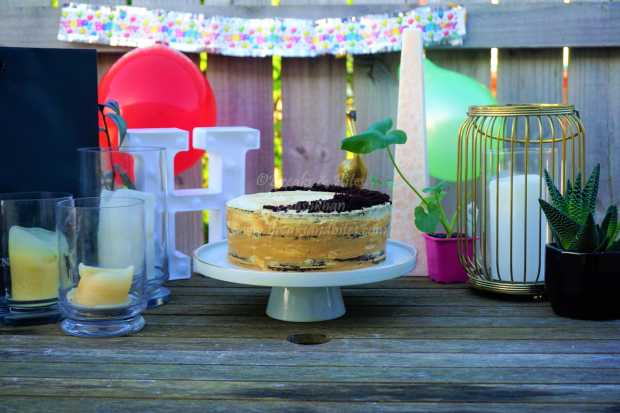
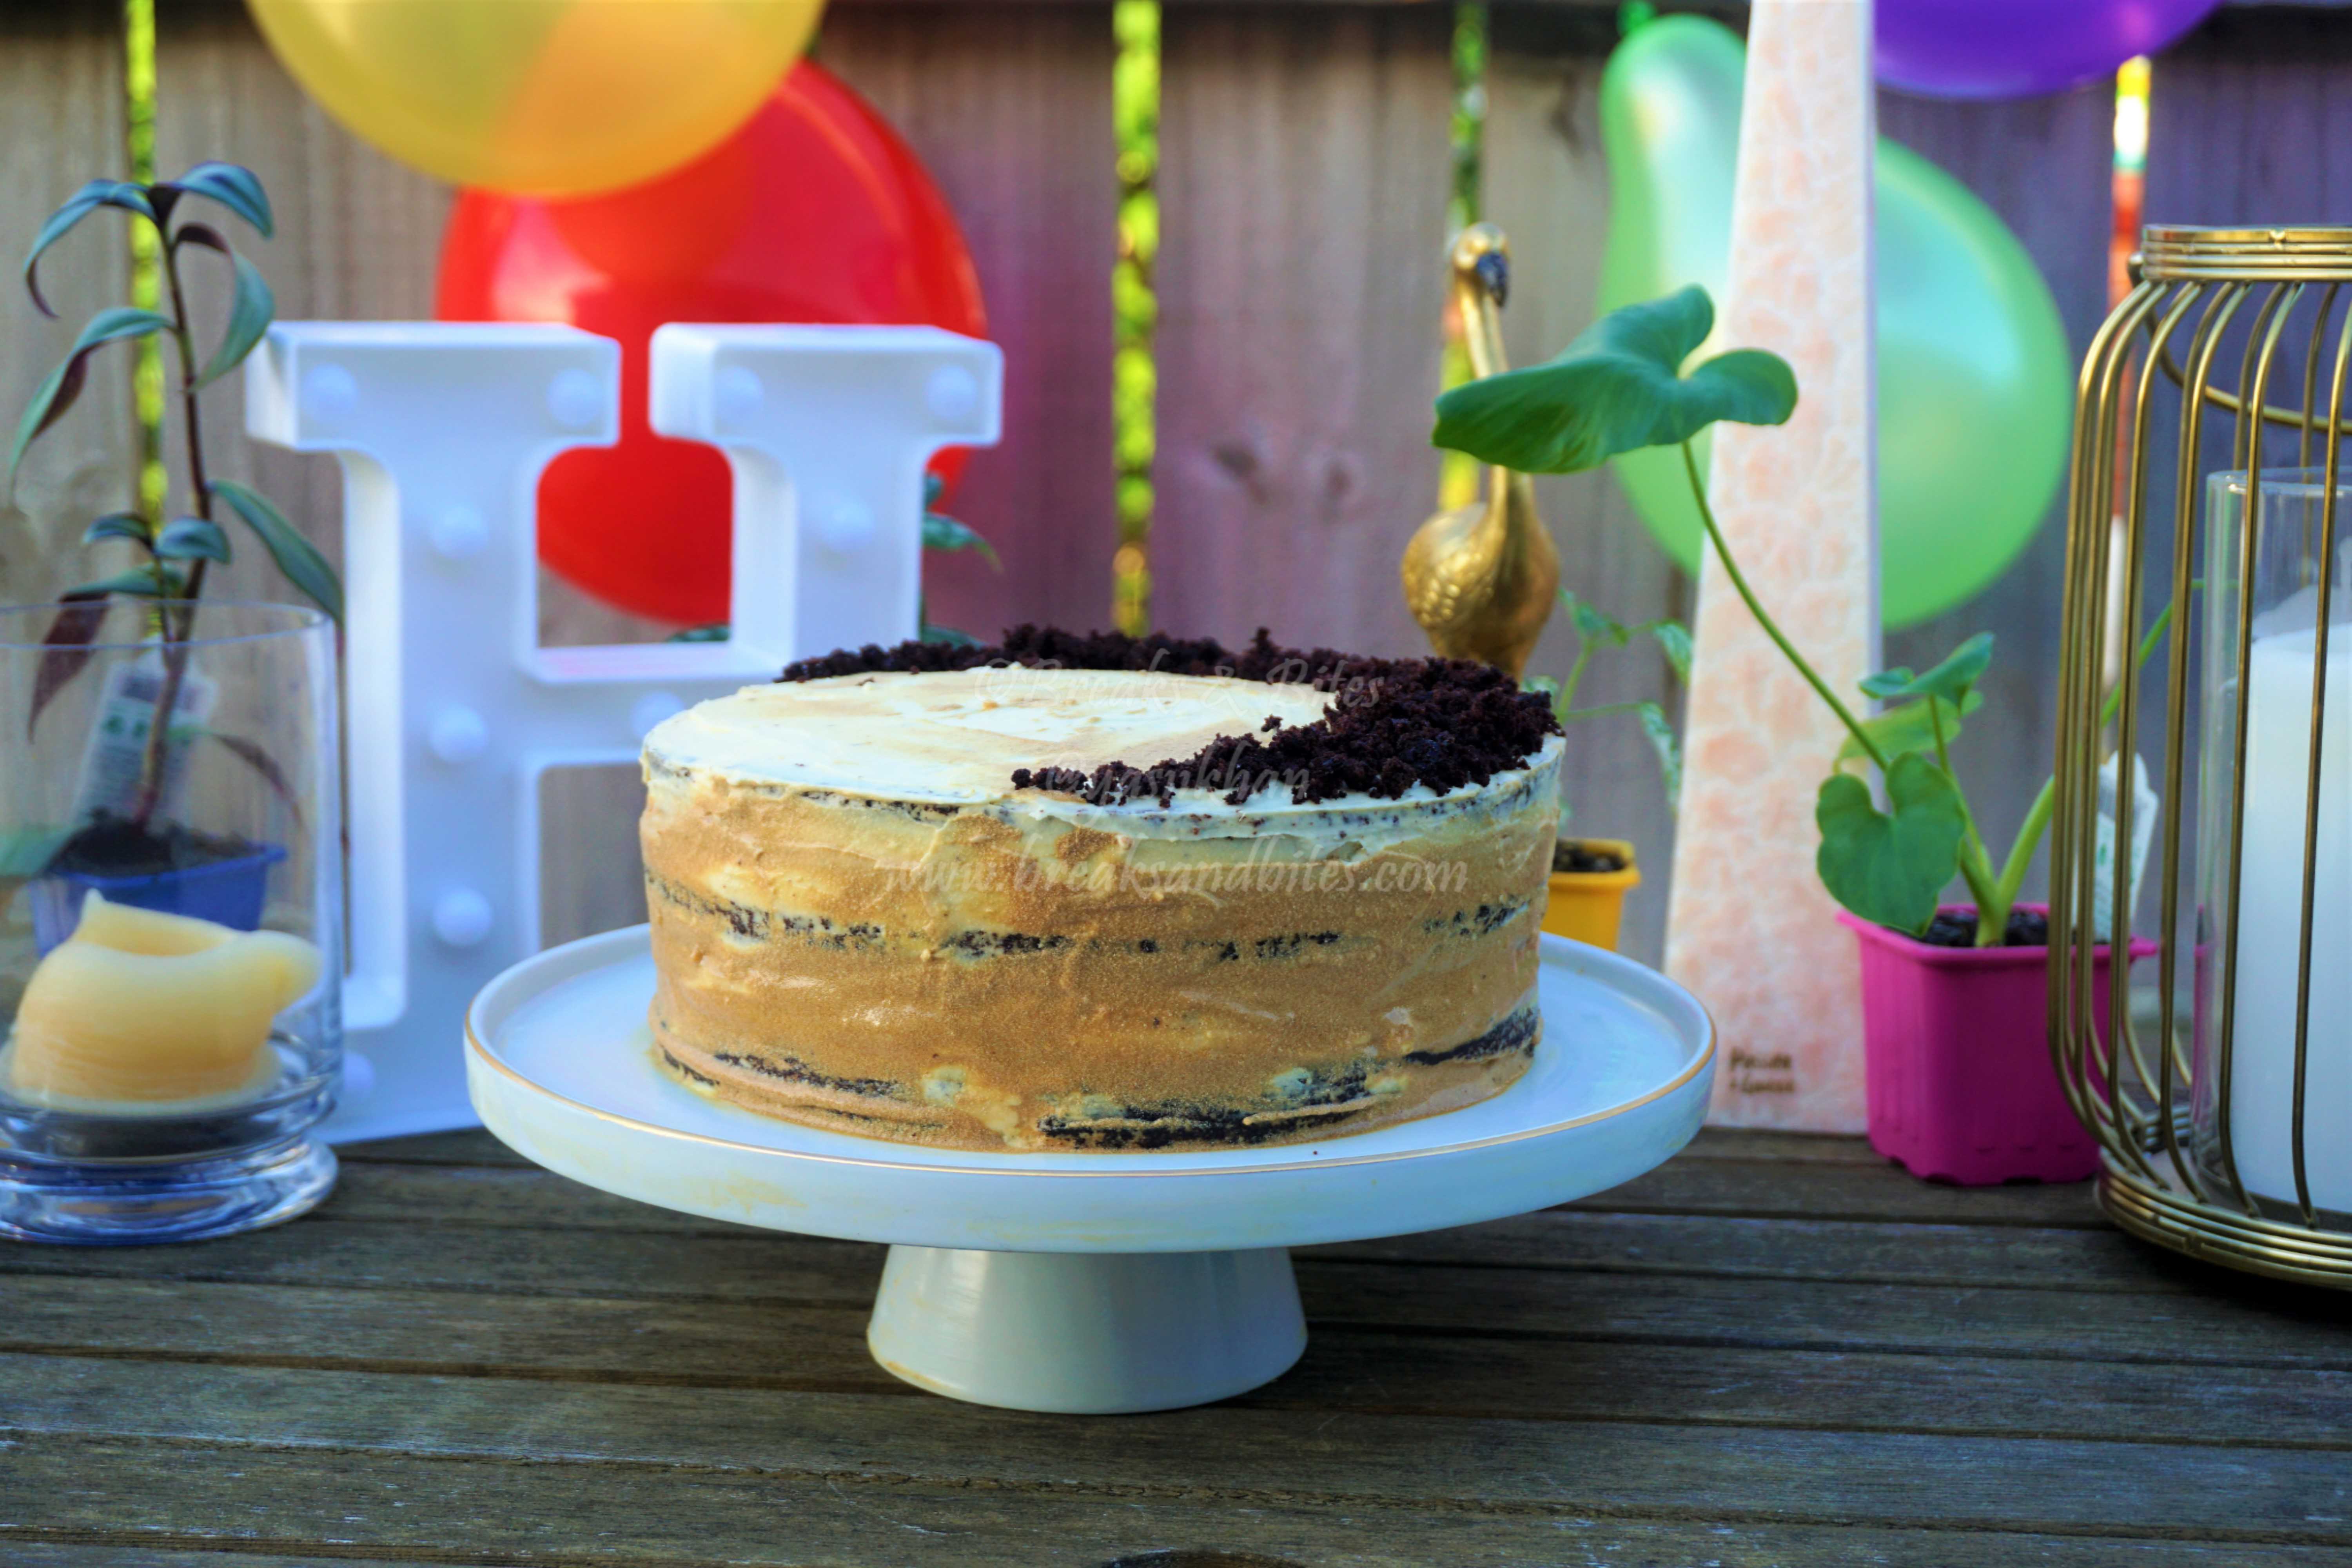
About the cake, the base recipe is from Hershey’s but Marium’s idea to make it with coffee was mind-blowing. However, I did some tweaking with the frosting part and used dalgona frosting recipe from confessionsofabakingqueen because ritual, haha. I had a vision in my mind about how the cake should look like and I am so glad that it looked like how I had pictured it.

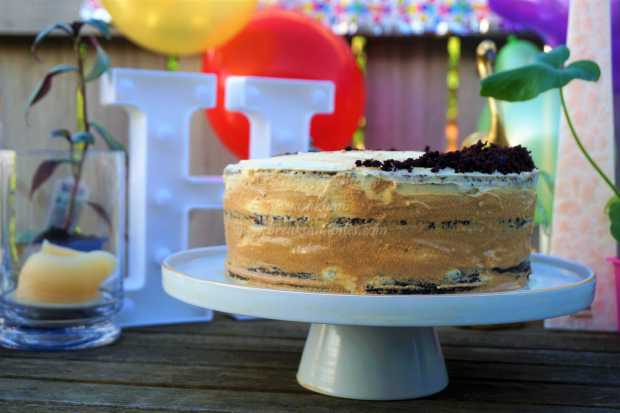
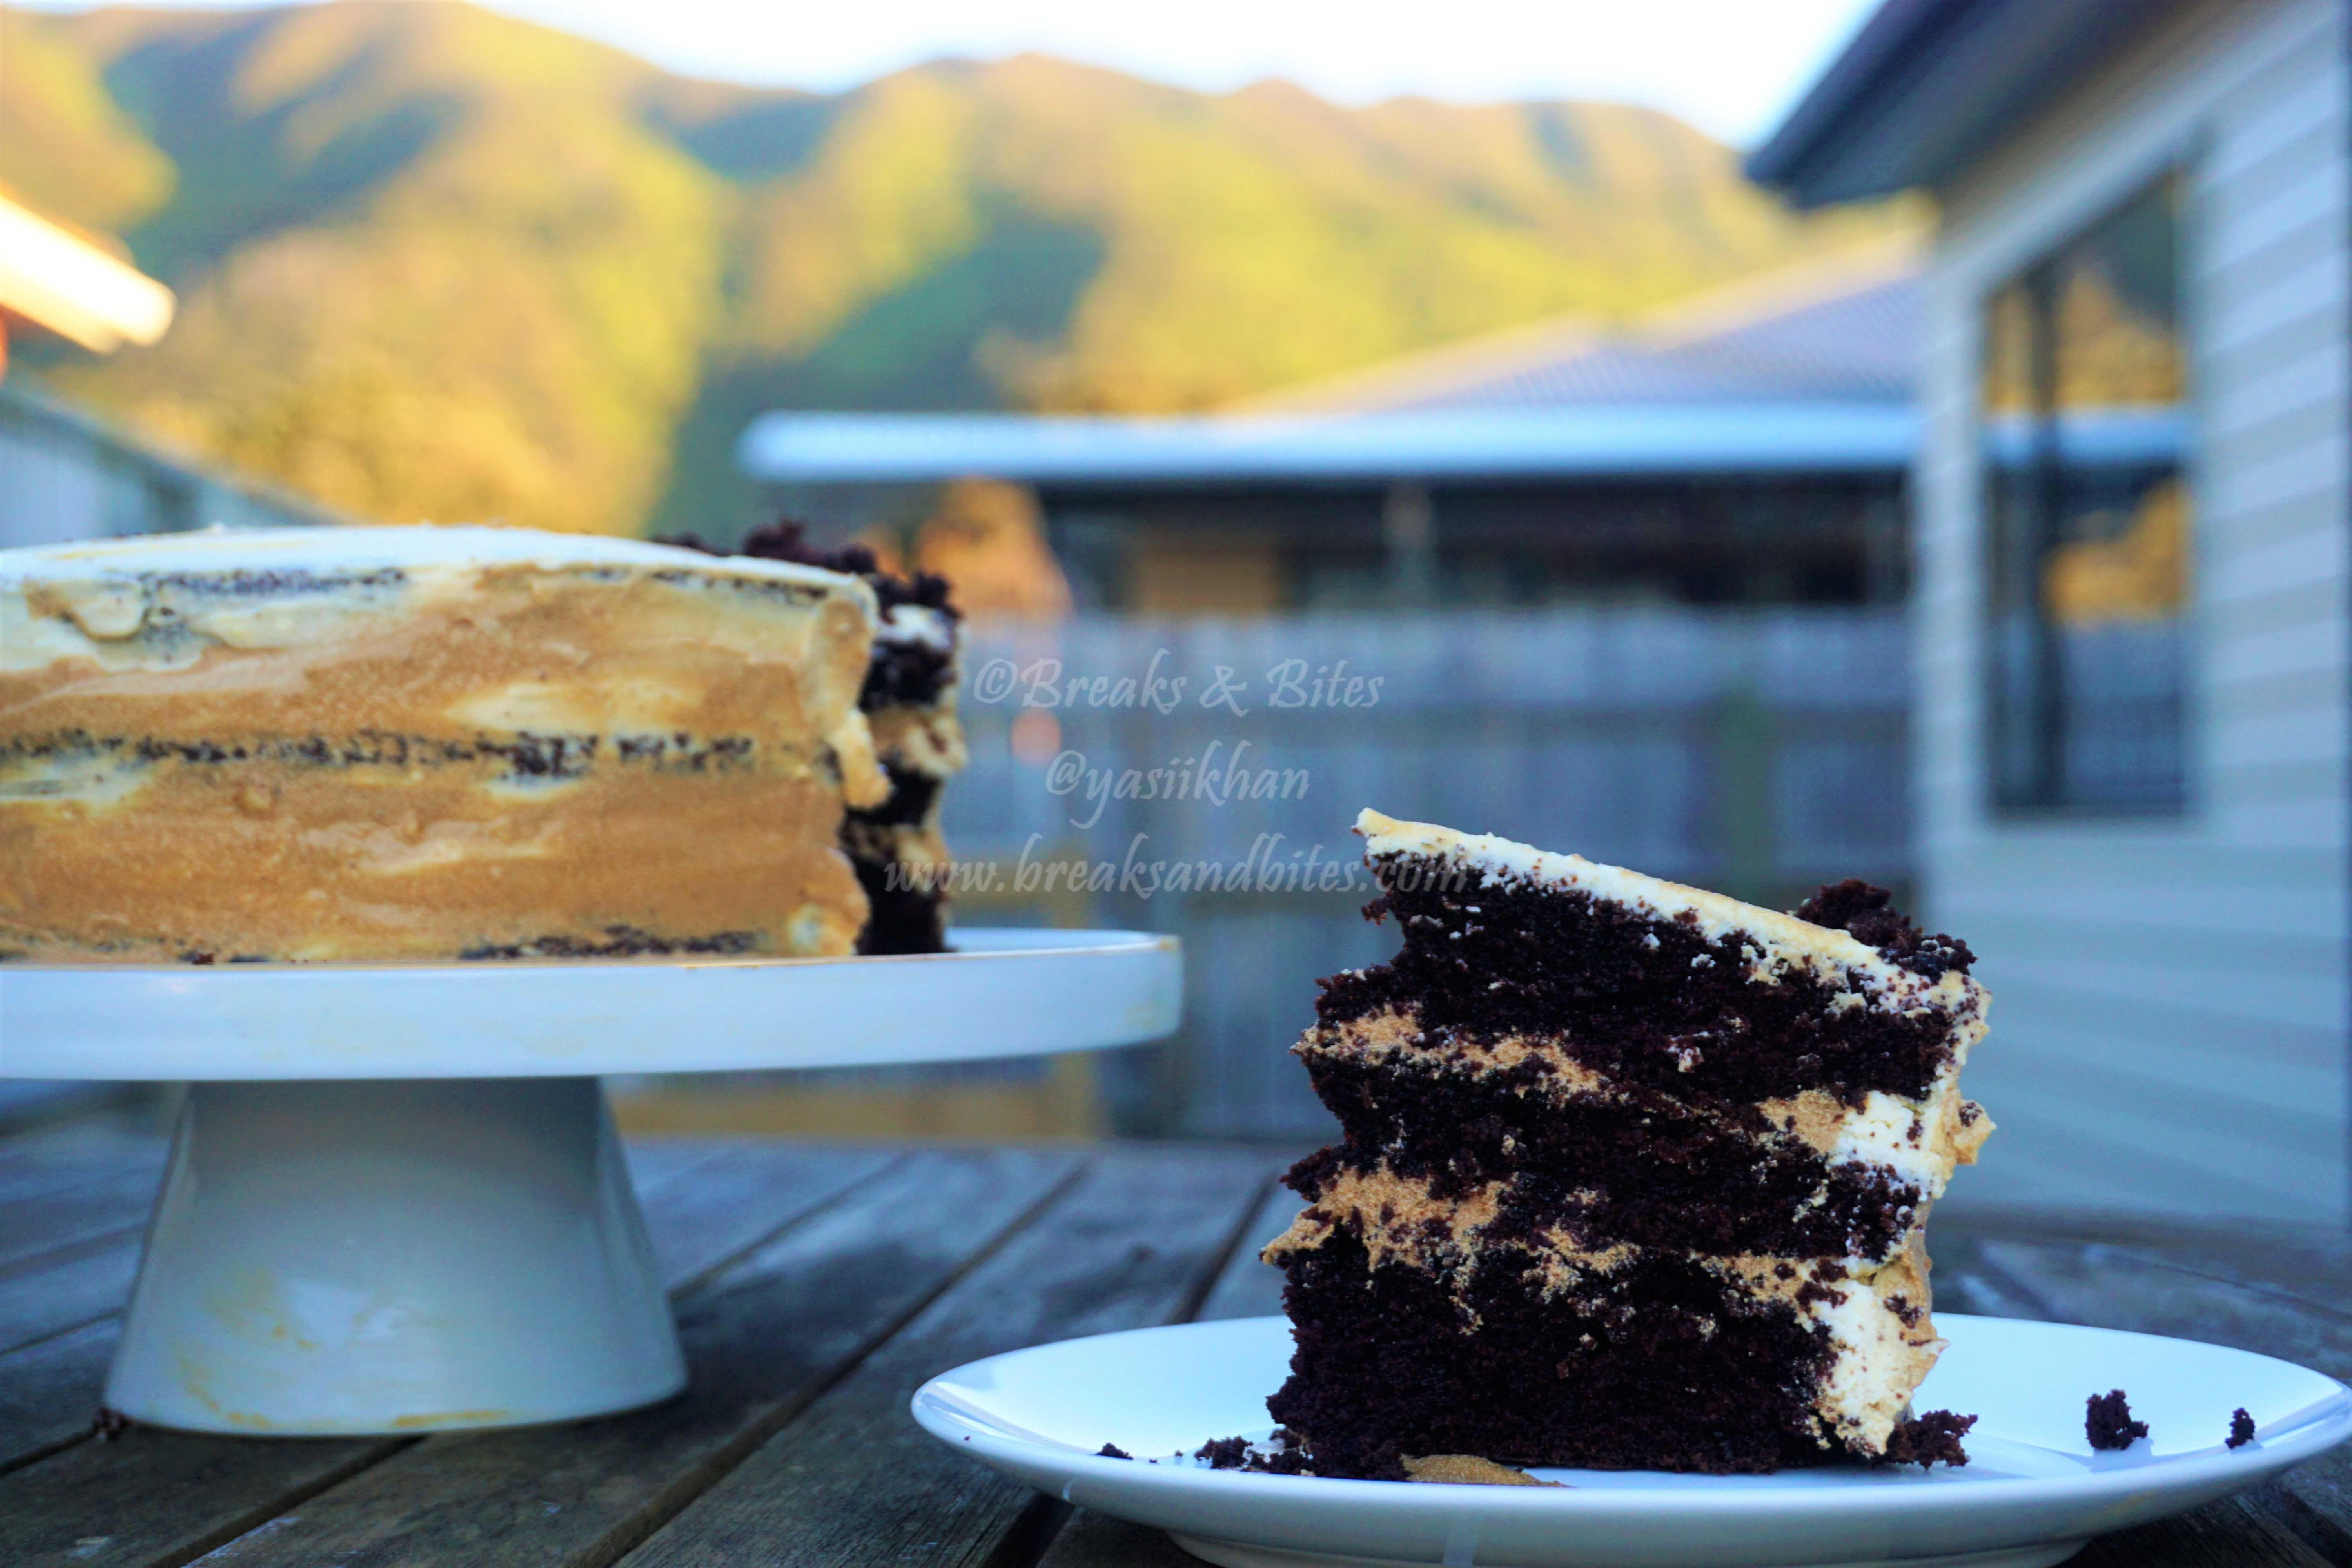
About the taste, I usually don’t say this but I was very proud of the cake I had made that day. It was super soft, moist and flavorsome. HI uttered: “It’s like a flat white coffee” followed by a thumbs up. You can visually see his reaction in the highlights on my Instagram profile under the highlight named ‘DALGONA CAKE’, the highlight has all the live action related to cake and a bonus baking tip too.
Let’s get down to actual business – the RECIPE!!
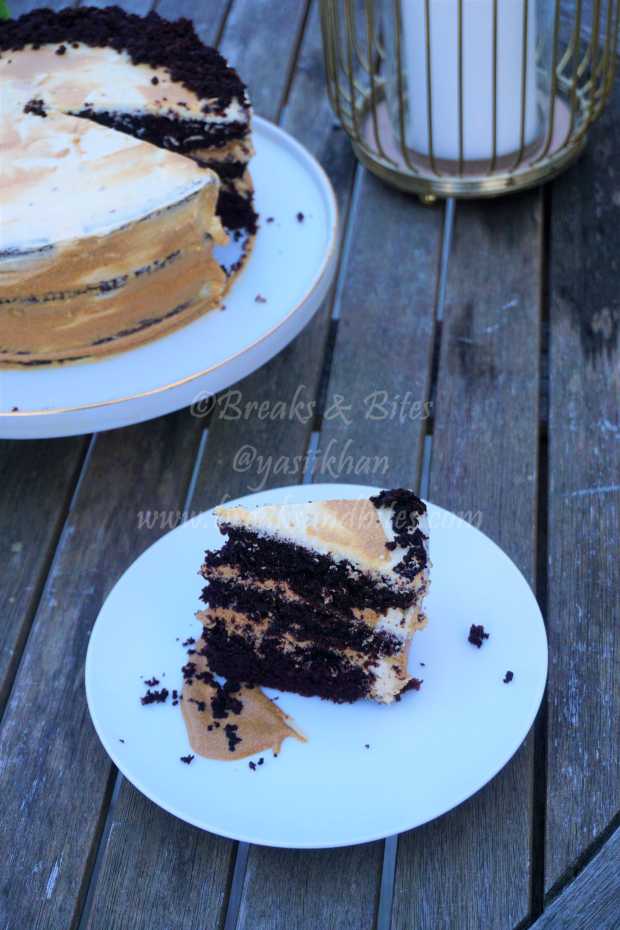
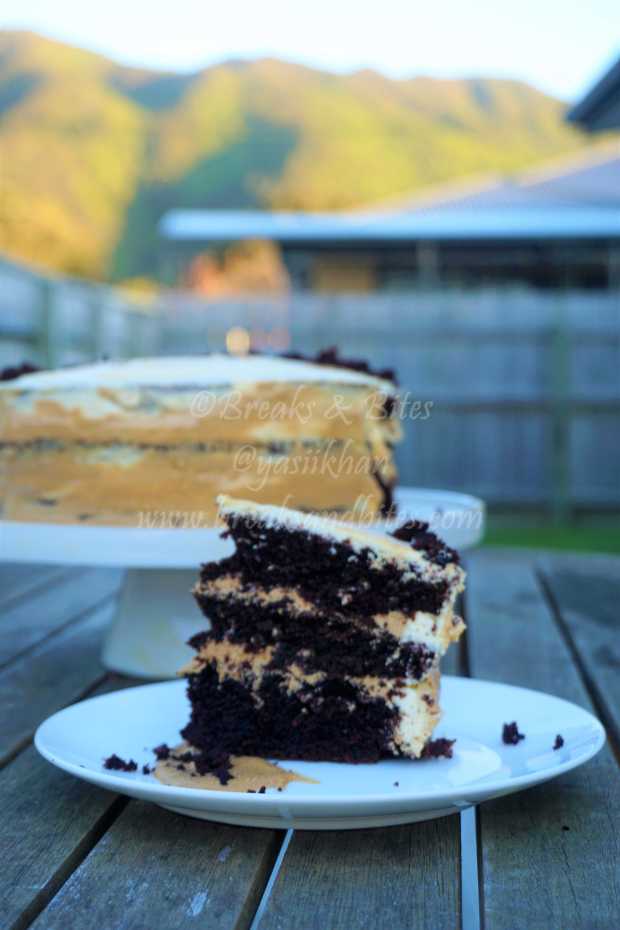
About Dalgona Cake: A rich chocolate-flavoured sponge cake with a distinctive reddish colour, typically with layers of buttercream or cream cheese icing.
Rating: (woah 5 on 5)
Inspired By: Marium Hosein, Confessions of a Baking Queen and Hershey’s
Cuisine: English
Course: Dessert
| Serves: | 10-12 | Ease Level: |  |
| Prep Time: | 15-20 mins (cake) 7 mins (Icing) | Quickness: | |
| Baking Time: | 30-35 mins | Sweet Level: | |
Above ratings are out of 5, with 5 being the ‘most’.
Above times do not include cooling times.
GET:
🎂Food processor/ Electric Mixer
🎂Bowls
🎂9″ Cake Tins – (1 or multiple as you like, here I used 3)
🎂Baking/ Parchment paper
🎂Offset Spatula (Optional)
🎂Weighing Machine
🎂Wire Rack
🎂Spoons
🎂Knife
🎂Sieve
SET:
Cake Batter Ingredients:
🎂Sugar 2 cups
🎂All-purpose flour 1-3/4 cups
🎂Cocoa powder 3/4 cup
🎂Baking powder 1-1/2 teaspoons
🎂Baking soda 1-1/2 teaspoons
🎂Salt 1 tsp
🎂Eggs 2
🎂Milk 1 cup
🎂Vegetable oil 1/2 cup
🎂Vanilla extract 2 tsp
🎂Coffee 2 tbsp
🎂Boiling water 1 cup
Dalgona Icing Ingredients:
🎂Softened butter 250 g (1 cup)
🎂Icing sugar 250 g
🎂Vanilla extract ¼ tsp
🎂Instant coffee 2 tbsp
🎂Boiling water 1½ tbsp
GO:
🎂Heat oven to 180°C/350°F. Grease and flour (three) 9-inch round baking pans.
🎂Mix coffee in boiling water and set aside.
🎂Run your dry ingredients (Plain flour, Cocoa powder, baking powder, baking soda and Salt) through a sieve into a bowl and combine them together along with sugar by whisking for a couple of times.
🎂Move on to the wet ingredients – Add eggs, milk, oil and vanilla; beat on medium speed of mixer 2 minutes.
🎂Stir in coffee dissolved boiling water .
🎂Pour batter into prepared pans (batter will be thin).
🎂Bake 30 to 35 minutes or until wooden pick inserted in center comes out clean.
🎂Cool 10 minutes; remove from pans to wire racks to cool off completely before frosting the cake.
For Dalgona Icing:
🎂Dissolve the instant coffee in the boiling water and then set aside to cool.
🎂Start by beating butter in a mixer/ processor for a couple of minutes at high speed.
🎂Add the icing sugar in two stages, beating really well after each one.
🎂Add the vanilla extract and the coffee one teaspoon at a time, beating in each addition before adding more.
🎂Once they are well combined, check the consistency of your buttercream. It should be soft and perfect for piping at this point. If it’s still a little stiff then beat in a little milk.
MY TWO CENTS:
✅Preheat the oven while you are prepping the batter to save time.
✅The butter to be used should be soft enough to be easily squeezed by your finger but should not be too melty, greasy or shiny. (You can leave it overnight on the countertop during winter but in summer an hour or 2 should be fine).
✅Line the bases of cake tins with baking paper. Also, grease and flour the edges for smooth removal of baked sponges. Always wait for a while before doing so, do not take the sponges out as soon as you take them out of the oven.
✅For icing, add the sugar gradually. Taste it before finalizing. You can always add more.
✅Make sure you let your coffee cool completely before adding it to the buttercream (otherwise it’ll melt the butter).
✅Add the coffee very gradually and beat each addition in before adding more. This will help ensure that you get a nice smooth buttercream.
If your buttercream is still a little too thick once you’ve added all your coffee, add a little milk to get it to the right consistency.
✅Do not leave the prepared icing uncovered or else it will get crispy.
Make sure the cake sponges are completely cooled off (preferably on wire rack) before starting to decorate.
✅Level the cakes put the last one upside down for a crisp neat look.
While setting the cake, start with a small blob of icing then put the first sponge over it.
✅Pop the cake in the refrigerator for about an hour or half after crumb coating it before finalizing the decor so that it gives the perfect canvas to furnish. ( A thin layer of frosting called the “crumb coat” seals in stray crumbs before fondant, marzipan, or a second frosting layer is applied. Remember to chill the crumb–coated cake until the frosting is set )
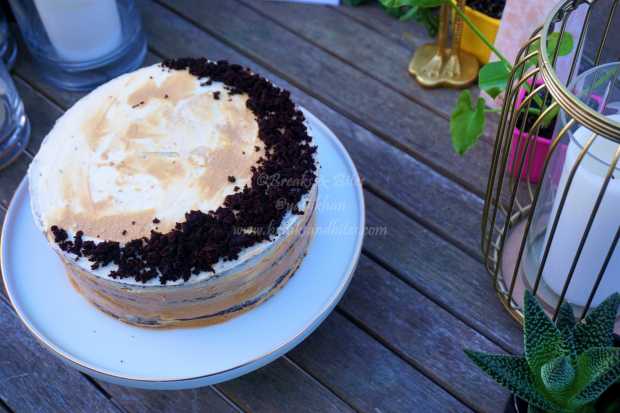
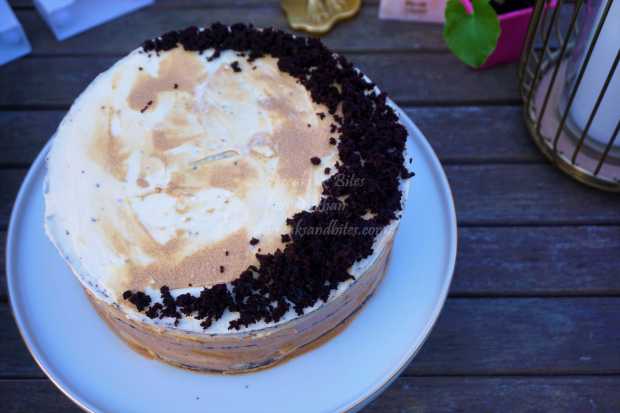
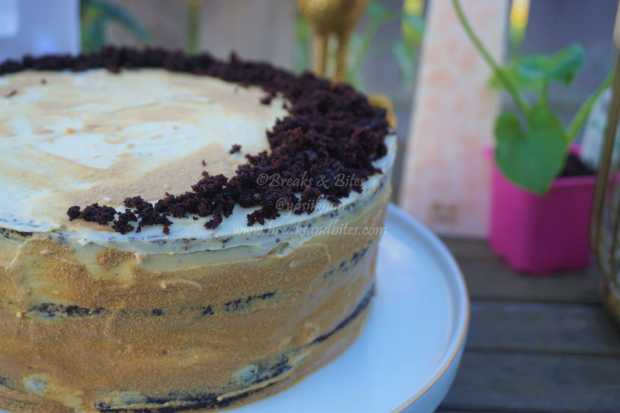
✅Save the crumbs from top of the cakes that you must have got after levelling for and use them to decorate your cake. Don’t waste anything!
✅I used the cream cheese icing from my red velvet cake recipe to give the ombre effect.
✅I have an electric oven hence the temperature and cooking times. These times may vary depending upon the type of oven you have. (Refer to your oven’s user manual for time queries – that is what I did)
Hope you’ll enjoy trying it out.
I’d love to get your feedback. Feel free to drop a comment below about your experience. And/or tag me on Instagram and Facebook too
Happy baking 🎂
